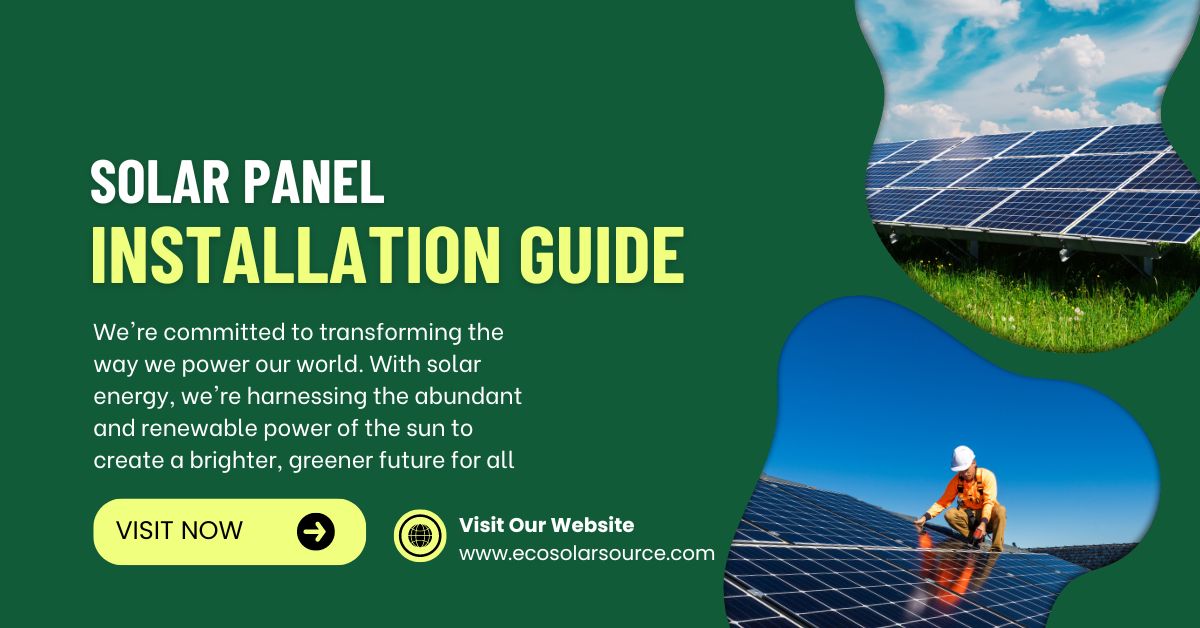
Solar Panel Installation Guide
The Solar Panel Installation Guide offers a comprehensive, step-by-step approach to setting up solar power systems for both residential and commercial use. This guide covers essential topics such as site assessment, choosing the right panel types, wiring configurations, and mounting techniques.
It provides detailed instructions on safely handling photovoltaic components, integrating inverters, and connecting to the electrical grid. With insights into local regulations, permits, and energy efficiency tips, the guide ensures a seamless installation process. Whether you’re a DIY enthusiast or a professional installer, this guide simplifies solar energy adoption for sustainable, long-term power solutions.
Table of Contents
Solar Panel Installation Guide: A Comprehensive Step-by-Step Guide
Solar energy is a sustainable, eco-friendly, and increasingly popular source of power for homes and businesses. With the rising costs of traditional energy sources and the need to reduce carbon footprints, solar panels are becoming a preferred alternative. Installing solar panels can seem like a daunting task, but with the right knowledge, preparation, and tools, it’s an achievable project that offers long-term savings and environmental benefits.
In this comprehensive guide, we will walk you through to the entire solar panel installation process, from understanding the benefits of solar energy to mounting your panels on your roof or property. This guide is designed for anyone considering a solar power system, whether you are a DIY enthusiast or planning to hire a professional installer.
Introduction to Solar Power
Solar energy is the most abundant renewable energy source available on Earth. The sun provides enough energy in one hour to power the world’s electricity needs for a year! Solar panels, or photovoltaic (PV) panels, capture sunlight and convert it into electricity that can be used to power homes, businesses, and other electrical devices.
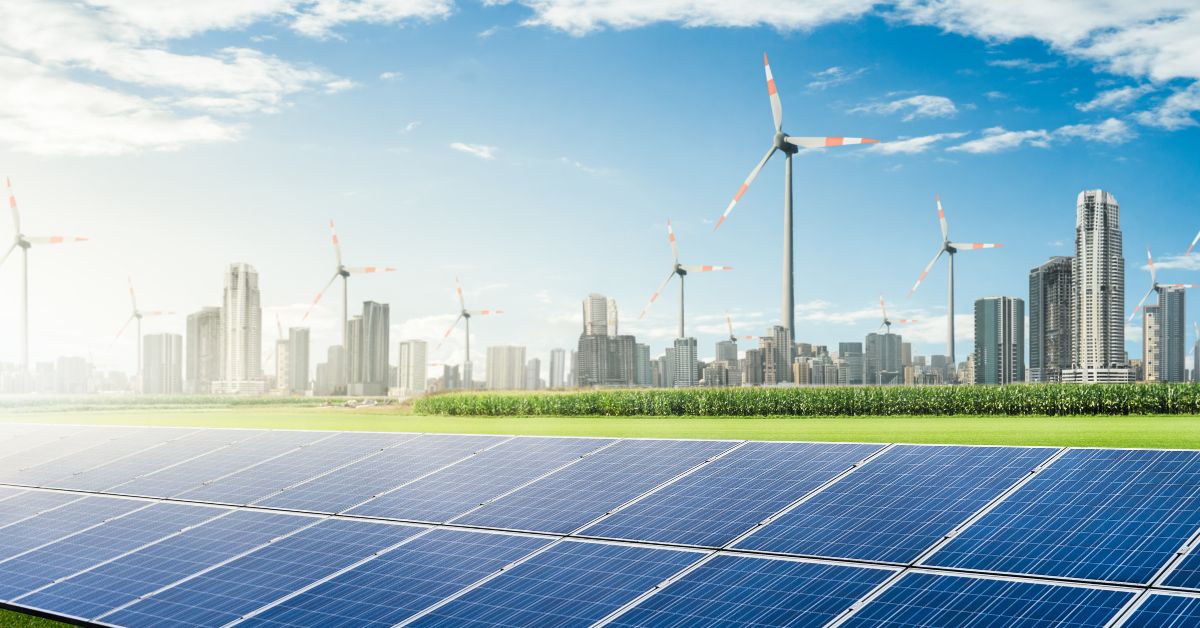
The adoption of solar power has grown rapidly over the last decade, thanks to advances in technology, government incentives, and a growing awareness of the need to shift to clean energy sources. Solar power systems can be customized to fit various needs and budgets, making it accessible for everyone from individual homeowners to large corporations.
How Solar Panels Work
Solar panels use the photovoltaic effect to convert sunlight into electricity. Here’s a simplifying the breakdown of the process:
- Photons from sunlight hit to the solar panel.
- Solar cells within the panel (typically made of silicon) absorb the photons, releasing electrons.
- These electrons flow through the solar cells, creating a direct current (DC).
- The inverter in the system converts the DC into alternating current (AC), which is the type of electricity most homes and appliances use.
- The generated electricity can either be used immediately or stored in batteries for later use.
- Excess energy produced can be fed back into the grid through a process called net metering, earning credits or compensation from utility companies.
The efficiency of solar panels depends on factors such as the type of solar cells, the angle of installation, and the amount of sunlight in your location.
Benefits of Solar Energy
Solar energy offers numerous benefits, making it an attractive choice for homeowners, businesses, and governments alike. Some of to the key benefits include:
- Reduced Energy Costs: Once your solar power system is installed, you can significantly lower your monthly energy bills. In many cases, homeowners can eliminate their electricity bills altogether.
- Energy Independence: Solar power allows you to generate your own electricity, reducing your reliance on the grid and protecting you from rising energy prices.
- Environmental Impact: Solar energy is a clean, renewable resource that doesn’t emit harmful greenhouse gases or pollutants. By switching to solar, you are reducing your carbon footprint and helping fight climate change.
- Increased Property Value: Homes with solar panels typically have higher property values and sell faster than homes without solar installations.
- Incentives and Rebates: Many governments offer incentives, tax credits, and rebates to encourage the adoption of solar power, reducing the initial cost of installation.
- Durability and Low Maintenance: Solar panels are designed to last for 25 to 30 years with minimal maintenance. Most systems come with warranties that cover performance and workmanship.
Types of Solar Power Systems
There are three main types of solar power systems, each with different capabilities and components:
a. Grid-Tied Systems
A grid-tied solar system is the most common type of solar power system. It is connected to the local utility grid, allowing you to draw electricity from the grid when your solar system isn’t generating enough power (e.g., at night or during cloudy days). When your solar panels generate more electricity than you need, the excess is sent to the grid, and you receive credits or compensation through net metering.
b. Off-Grid Systems
Off-grid solar systems are completely independent of the utility grid. They require a battery storage system to store excess energy for use during periods when the sun isn’t shining. Off-grid systems are ideal for remote locations or homes where connecting to the grid is difficult or expensive. However, they tend to be more expensive due to the need for additional batteries and backup systems.
c. Hybrid Systems
Hybrid solar systems combine both grid-tied and off-grid systems. They are connected to the grid but also have battery storage to provide power during outages or times of low solar production. Hybrid systems offer the best of both worlds, giving you the flexibility to draw from the grid when necessary and use stored energy when needed.
Preparing for Solar Panel Installation
Before installing solar panels, thorough preparation is essential to ensure the system is safe, effective, and tailored to your energy needs. Here are the key steps to take:
a. Assess Your Energy Needs
The first step in preparing for solar panel installation is to assess your household or business’s energy consumption. Review your electricity bills from the past year to determine your average monthly and yearly energy usage. This will help you size your solar system appropriately.
b. Conduct a Site Survey
A site survey involves assessing your property’s solar potential. The best locations for solar panels are south-facing rooftops or open ground areas that receive ample sunlight throughout the day. Consider the following factors during your site survey:
- Shading: Trees, buildings, and other obstructions can block sunlight from reaching your panels. Trim or remove trees if necessary, or choose a location with minimal shading.
- Roof Condition: If you plan to install solar panels on your roof, ensure that it is in good condition and has enough structural integrity to support the weight of the panels. If your roof is old or damaged, it may need repairs or replacement before installation.
- Orientation and Tilt: The optimal tilt angle for solar panels depends on your latitude. Most solar panels are installed at an angle that maximizes their exposure to sunlight throughout the year.
c. Permits and Regulations
Solar panel installation requires permits and inspections to ensure that the system complies with local building codes, electrical codes, and zoning regulations. Contact your local government or utility company to find out what permits and approvals are needed for your area. You may also need to follow homeowners’ association (HOA) rules if applicable.
d. Choosing a Solar Installer
If you’re not comfortable with DIY installation, hire a licensed solar installer or contractor. A professional installer will help you design the system, obtain the necessary permits, and ensure that the installation is done safely and correctly. When choosing an installer, consider factors like experience, certifications, warranties, and customer reviews.
e. Financing Options
Solar panel installation can be a significant upfront investment, but there are several financing options available to help you spread out the cost:
- Solar Loans: Many banks and financial institutions offer loans specifically for solar power systems. Solar loans allow you to finance the installation and repay the cost over time.
- Leasing: With a solar lease, you don’t own the system but instead pay a fixed monthly fee to use the solar panels and receive the energy they produce.
- Power Purchase Agreements (PPAs): A PPA is similar to a lease, but instead of paying a fixed fee, you agree to purchase the energy generated by the solar system at a predetermined rate.
- Incentives: Federal, state, and local incentives can significantly reduce the cost of solar panel installation. These incentives include tax to credits, rebates, and grants. In the United States, the federal solar tax credit (Investment Tax Credit or ITC) allows homeowners to deduct a percentage of the installation cost from their taxes.
Step-by-Step Solar Panel Installation Process
Now that you’ve prepared for installation, let’s dive into the actual steps involved in setting up your solar power system.
Step 1: Designing to the System
The first step is to design the solar power system based on your energy needs, site conditions, and budget. You’ll need to determine the number of panels, the type of inverter, and whether you’ll incorporate battery storage. You’ll also decide whether to install the system on your roof, a ground mount, or another suitable location.
Step 2: Installing the Mounting System
The mounting system is what supports the solar panels and secures them in place. The two most common types of mounting systems are roof mounts and ground mounts.
- Roof Mounts: Roof-mounted solar panels are the most popular option for residential installations. The mounts are attached to the roof using brackets or rails that hold the panels in place. Make sure to install flashing to prevent leaks.
- Ground Mounts: Ground-mounted systems are an excellent option if you have ample land available and your roof is not suitable for solar panels. Ground mounts are typically installed at a fixed angle or equipped with tracking systems that follow the sun’s movement throughout the day.
Step 3: Installing the Solar Panels
Once the mounting system is in place, the solar panels are installed on top of it. Carefully secure the panels to the mounting system using bolts or clamps, ensuring they are firmly attached and angled correctly. Double-check the alignment to make sure the panels are facing the optimal direction for maximum sunlight exposure.
Step 4: Wiring the System
Solar panel wiring connects the panels to the inverter and other electrical components. It’s essential to follow proper wiring techniques and safety guidelines to avoid electrical hazards. The wiring process includes:
- Connecting the panels: Solar panels are wired together in series or parallel to achieve the desired voltage and current.
- Connecting to the inverter: The DC power generated by the panels is sent to the inverter, which converts it to usable AC power.
- Grounding the system: Grounding ensures that any electrical faults or surges are safely dissipated, protecting your system from damage.
Step 5: Installing the Inverter and Battery Storage
The inverter is installed close to the solar panels or inside your home. It’s responsible for converting the DC electricity from the panels into AC electricity. If you’re using a hybrid or off-grid system, you’ll also install a battery storage system at this stage. Batteries store excess energy for use when your panels aren’t generating power.
Step 6: Connecting to the Grid (if applicable)
For grid-tied systems, the final step is to connect your solar system to the utility grid. This involves installing a bi-directional meter that tracks both the electricity you use from the grid and the excess energy your panels send back to the grid.
Step 7: System Testing and Commissioning
Before turning on your solar power system, you’ll need to test it to ensure everything is working correctly. Check for proper voltage output, inspect all electrical connections, and confirm that the inverter is functioning. Once the system passes inspection, it’s ready to be commissioned and start generating electricity.
Maintaining and Monitoring Your Solar Panels
After installation, solar panels require minimal maintenance to keep them operating efficiently. Regular maintenance tasks include:
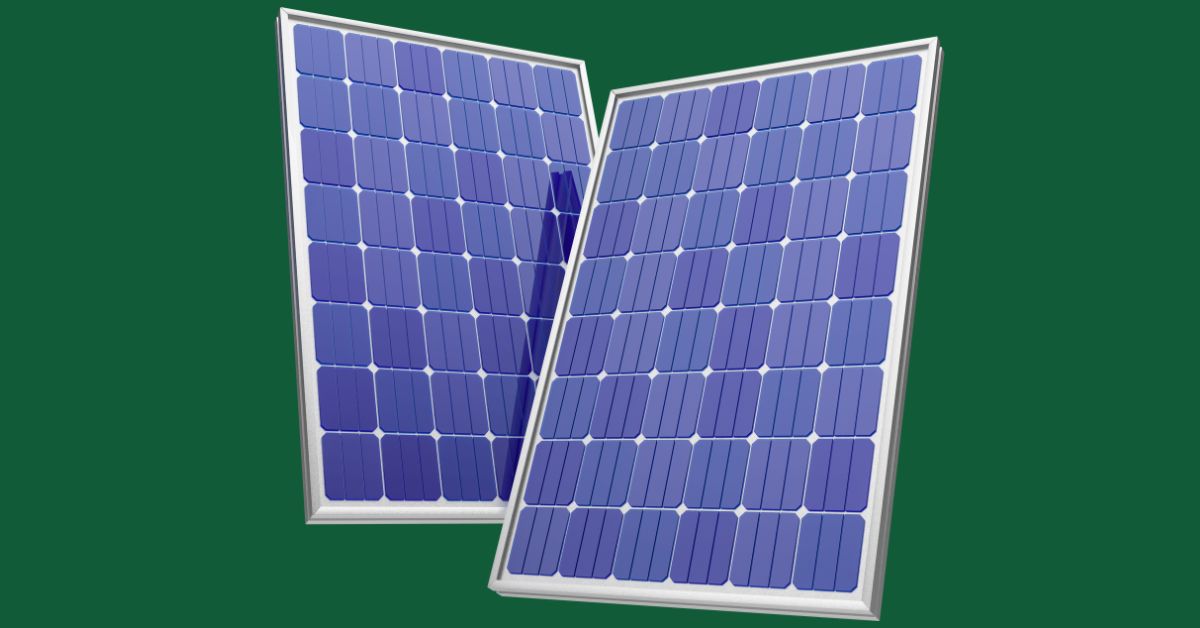
- Cleaning the Panels: Dirt, dust, and debris can accumulate on the surface of solar panels, reducing their efficiency. Clean your panels every few months using a hose and soft brush or hire a professional for more thorough cleaning.
- Monitoring Performance: Use monitoring software or apps to track the performance of your solar power system. Most modern inverters come with built-in monitoring features that allow you to see how much energy your panels are producing.
- Inspecting the System: Periodically inspect the wiring, mounting hardware, and other components for signs of wear or damage. Address any issues of promptly to prevent further problems.
Solar panels are highly durable, but routine maintenance ensures they continue to operate at peak performance throughout their lifespan.
Frequently Asked Questions (FAQs) About Solar Panel Installation Guide
Q1. How long do solar panels last?
The Solar panels are typically last 25 to 30 years. After this time, they may still produce electricity, but their efficiency will decline.
Q2. What happens during cloudy days?
Solar panels can still generate electricity on cloudy days, although their efficiency is reduced. Many systems are connected to the grid or have battery storage to provide power during cloudy weather or at night.
Q3. How much does solar panel installation cost?
The cost of solar panel installation varies depending on the size of the system, the type of panels, and other factors. On average, residential installations cost between $15,000 and $25,000 before incentives.
Q4. Can I install solar panels myself?
Yes, DIY installation is possible if you have the necessary skills and knowledge. However, it’s important to follow safety guidelines and local regulations. Hiring a professional installer is recommended for most homeowners.
Q5. How do I determine if my home is suitable for solar panels?
Your home’s suitability depends on factors like roof condition, sun exposure, roof angle, and available space. An installer typically conducts an assessment to check for shading and structural integrity before recommending solar panels.
Q6. What types of solar panels are available, and which one is best for me?
There are three main types of solar panels: monocrystalline, polycrystalline, and thin-film. Monocrystalline panels are more efficient but cost more, while polycrystalline is slightly less efficient but more affordable. Thin film is more flexible but generally less efficient.
Q7. How much does a solar panel installation cost, and what factors affect the price?
The cost depends on system size, panel type, labor, location, and any additional equipment (e.g., batteries). On average, installation costs range from $15,000 to $25,000, but government incentives and rebates can reduce the price significantly.
Q8. Will solar panels work during cloudy days or in less sunny regions?
Yes, solar panels can still produce electricity on cloudy days, but their efficiency will be reduced. Regions with less sun exposure might need a larger system to meet energy needs, but solar still works in diverse climates.
Q9. How long does the installation process take from start to finish?
From initial consultation to activation, the process typically takes 1 to 3 months. Installation itself is usually completed in 1 to 3 days, but permitting, inspection, and utility approval can add time.
Q10. What are the maintenance requirements for solar panels?
The Solar panels require very little maintenance. Occasional cleaning of dust or debris and routine checks every few years are recommended. Most systems come with warranties that cover repairs or replacements for 20-25 years.
Q11. Can solar panels completely eliminate my electricity bill?
Solar panels can significantly reduce your electricity bill, but whether they eliminate it entirely depends on the system size and your energy usage. You may still receive small bills for grid connectivity or if your energy consumption exceeds production.
Q12. What are the financing options available for solar panel installation?
Financing options include purchasing outright, taking out a solar loan, leasing panels, or entering into a Power Purchase Agreement (PPA). Many people opt for loans or leases to avoid upfront costs.
Q13. What happens if I need to repair my roof after installation?
If you need roof repairs after the panels are installed, the panels will have to be temporarily removed and reinstalled. Some installers provide removal and reinstallation services, so it’s worth discussing this during the initial consultation.
Q14. Do solar panels add value to my home?
Yes, solar panels often increase property value because they reduce ongoing energy costs. Studies show homes with solar systems sell faster and for higher prices compared to homes without them.
Solar panel installation is a powerful investment in both your home and the environment. By switching to solar energy, you can lower your electricity bills, reduce your carbon footprint, and gain energy independence. Whether you choose to install the system yourself or hire a professional, this guide provides the essential steps and knowledge to help you succeed.
As solar technology continues to advance and government incentives remain available, there has never been a better time to embrace the future of clean, renewable energy. Start your solar journey today and enjoy the benefits of sustainable power for years to come.
Click here to learn more about Solar Panel Installation Guide
Click here to learn more about Solar Inverter Manufacturers in India
